


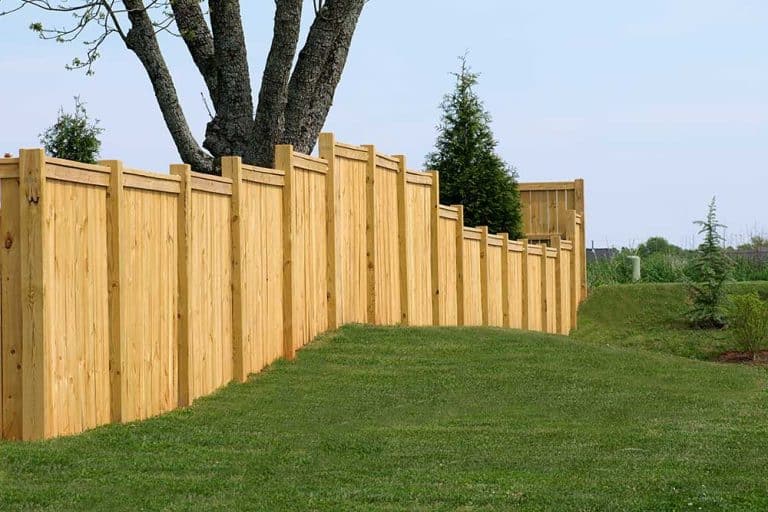
Pick wood fence stain colors in three steps: decide how much wood grain you want to show, match the tone to your house, then test samples on your own boards. For most yards, a cedar, mid brown or gray semi-transparent stain is the safest choice. It hides dirt, suits most brick and siding, and carries enough pigment to protect the wood.
Color isn’t only about looks, though. The amount of pigment in a stain affects how well it blocks sunlight, so it also changes how often you’ll be back out with a brush. Here’s how to choose a shade you’ll still like years from now.

How Stain Type Changes the Color You See
The same color name can look very different depending on the type of stain. So choose the type first, then the shade. The USDA Wood Handbook explains why: almost all pigments block ultraviolet light, so more pigment generally means more protection for the wood.
- Clear and transparent finishes show the most grain but carry little or no pigment. The Wood Handbook puts the life of a water-repellent preservative used as a natural finish at only 1 to 2 years.
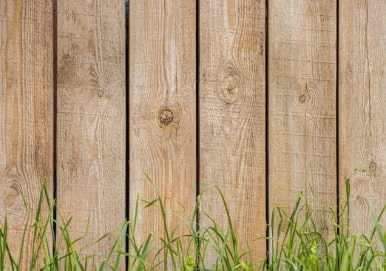
- Semi-transparent stains add color while the grain still shows. Oil-based versions soak in instead of forming a film, so they don’t peel, but latex versions can crack and flake. Two coats may last 10 years on rough-sawn wood, while one coat on new smooth wood may last only 2 to 4 years.
- Solid stains cover the grain like paint and hide mismatched boards. But they form a film that can peel, and they need recoating more often than paint.
Match Fence Stain Colors to Your House
Start with the colors you can’t change: the roof, brick or stone, siding and trim. Then pull your fence color from one of them, or pick a neutral that sits comfortably between them. A fence reads as part of the house when it echoes something already there.
- Red or orange brick: warm cedar, chestnut or a darker walnut brown.
- White or cream siding: cedar or honey tones for warmth, or a soft gray for a cooler look.
- Gray, blue or modern exteriors: driftwood gray, charcoal or a black solid stain.
- Stone and earth tones: natural cedar, mid brown or a weathered gray.
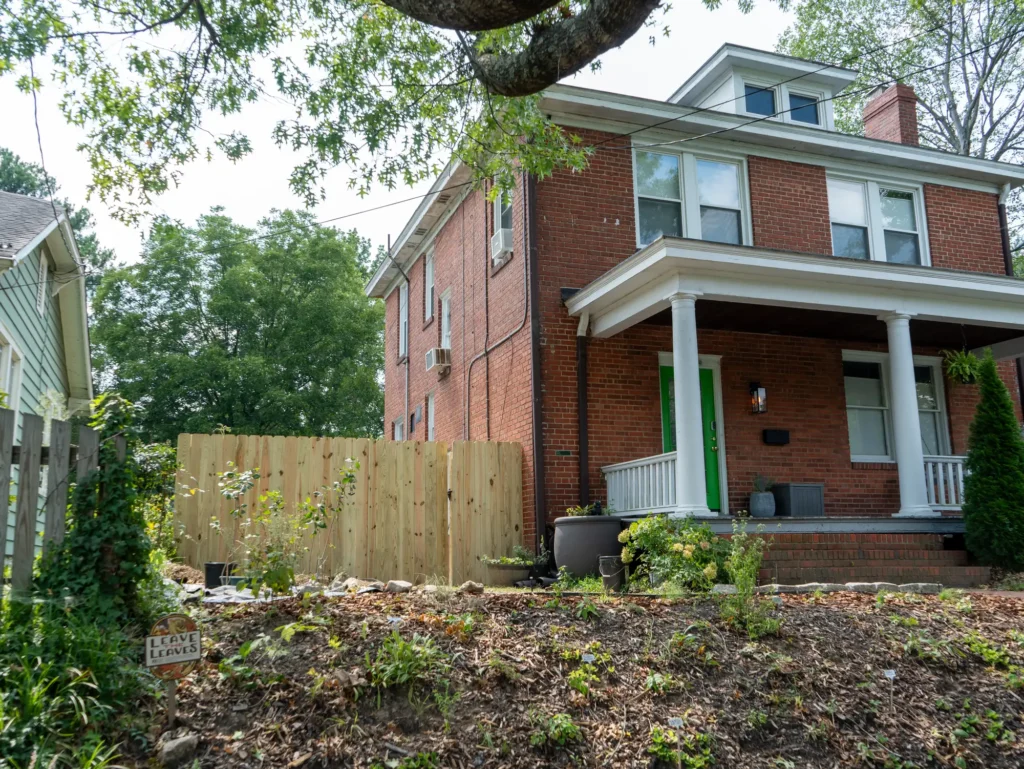
If you live in a neighborhood with an HOA, check the architectural guidelines before you buy stain, since many associations limit fence colors. Our post on installing a fence in an HOA covers the approval process.
Let Your Yard and Light Guide the Shade
Your landscape changes how a color reads. When your yard is full of shrubs and flower beds, a neutral stain lets the plants take center stage. Instead, if the yard is mostly lawn, a richer brown or charcoal can give the fence some presence.
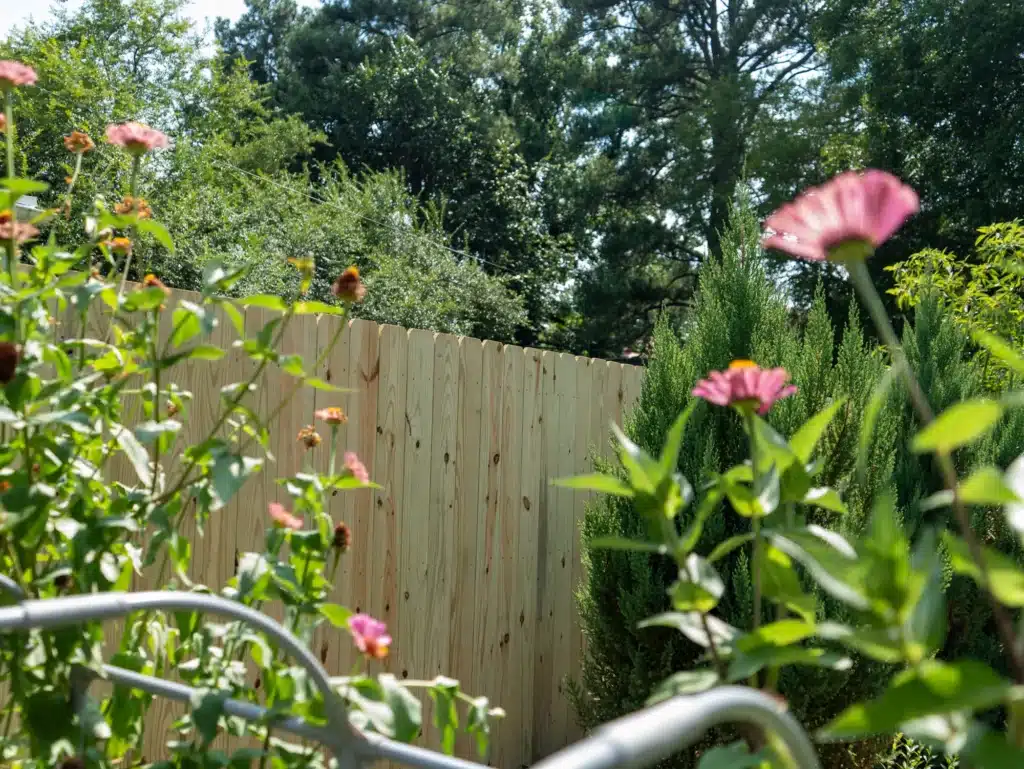
Light matters too. Dark stains can look almost black along a shaded fence line, while light tones can wash out in full afternoon sun. So look at your options in the part of the yard where most of the fence will sit.
Which Wood Fence Stain Colors Suit Each Style?
Fence style is the other half of the decision. Here’s where each common style tends to look its best:
- Privacy fences: warm cedar and mid browns keep a tall wall of boards from feeling heavy. For more on layouts, see our privacy fence installation page.
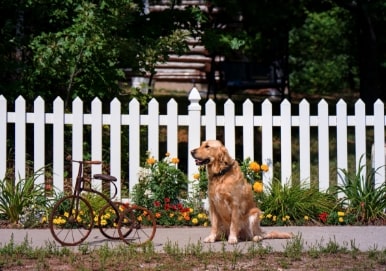
- Picket fences: white or light gray solid stain gives the classic cottage look.
- Horizontal fences: charcoal, black or deep brown suits modern homes. Browse these horizontal wood fence ideas for examples.
- Board on board and shadowbox: medium tones show off the depth between boards better than very dark colors.
Consider the Wood Before You Pick a Fence Stain Color
The same can of stain looks different on pressure-treated pine than it does on cedar. Cedar has natural reddish tones that warm up any color, while treated pine can start with a slight green or brown cast. That’s one more reason to test on your own boards.
New treated lumber also needs time to dry. According to the Wood Handbook, wood treated with waterborne preservatives can be stained once it is clean and dry. If it’s still saturated, wait and use a penetrating finish instead of a film. One simple check: sprinkle water on a board. If it beads up, wait longer, but if it soaks in, you’re ready.
Planning a white or very light solid color on cedar? Use a stain-blocking primer first, as the Wood Handbook advises for cedar, because natural extractives in the wood can bleed through light finishes and leave tan streaks.
How to Test Wood Fence Stain Colors Before You Commit
A color chip or can lid is only a starting point. Before you buy gallons, test two or three finalists this way:
- Buy sample sizes of each color you’re considering.
- Clean a few boards and let them dry completely.
- Brush each sample on a board in a low-visibility spot, using the number of coats you plan to apply.
- Let the samples dry fully, since stain often changes color as it dries.
- Check them in morning, midday and evening light, from both the house and the street.
Once you’ve picked a winner, stain on a dry, mild day and work in small sections so you don’t leave lap marks.
Keep the Color Looking Fresh
Even the best stain fades, especially on south and west facing runs that bake in the sun. Clean the fence each spring, then recoat when the color looks thin or water stops beading on the surface. For step-by-step prep, read our guide to sealing a wood fence, and pair it with a simple fence maintenance routine.
Plan Your New Wood Fence in Central Virginia
Good Neighbor Fence doesn’t offer fence staining. But if your old fence is past saving or you’re starting from scratch, we design and build custom wood fences, stick-built on site, across Richmond, Chesterfield, Henrico and the rest of Central Virginia. We’re family owned, we’ve built fences here since 2006, and homeowners have given us 400+ five-star Google reviews. See this wood fence for a Powhatan home, check our wood fence cost guide, and ask about financing starting at 0% APR.
Call (804) 737-4664 or request a fast, free quote online to plan a new wood fence for your yard.