



Vinyl fence panel replacement is a manageable repair when the posts on either side are still solid. You release the rails, slide out the damaged boards or section, and set a matching panel in its place. But if a post leans, wobbles or has cracked, fix that first. A new panel won’t stay straight on a bad post.
Most vinyl fence damage comes from a few familiar causes, and most of it is fixable without tearing out the whole run. This guide covers how vinyl fences go together and which tools keep you from cracking good vinyl. Then it walks through the swap step by step and explains when a bigger fix makes more sense.

Common Reasons for Vinyl Fence Panel Replacement
Storms are a common culprit. A falling limb can crack boards or pop a rail out of its post. Strong gusts also put a heavy load on solid privacy panels, because they don’t let wind pass through. If you live in an exposed spot, it helps to know how much wind a vinyl fence can handle before you pick a replacement style.
Impact is the next big cause. Mowers, string trimmers, a car backing out of the driveway or a hard-hit ball can all crack a board. Vinyl also gets stiffer in cold weather, so a knock in January can crack a board that would have flexed in July.
Age and installation play a part too. Older vinyl without good UV protection can fade or chalk, and long sections can sag if the bottom rail has no metal stiffener inside. Posts with shallow footings, or posts spaced too far apart, let panels shift and pull loose over time. When that is the root cause, a new panel only solves half the problem.
Is It the Panel or the Post?
Before you order parts, walk the fence line and push firmly on each post near the damaged section. A post that rocks, leans or has a cracked sleeve needs attention first. Then look at where the rails enter the posts. Rails that have slipped out of their holes usually point to a post problem, not a panel problem.
- Panel only: cracked or broken boards, a hole from a branch, a scuffed or faded board, or a rail cracked in the middle.
- Post problem: a post that moves when you push it, a leaning run of fence, rails pulling out of their holes, or gaps opening between boards.
- Bigger job: several damaged sections, several leaning posts, or a style you can’t match anymore.
How Your Vinyl Fence Goes Together
Most vinyl privacy fences use routed posts. The manufacturer cuts holes in each post, the rails slide into those holes, and the tongue and groove boards stand in the bottom rail while the top rail caps them. Many rails lock into the post with small tabs, so they won’t pull back out once they’re seated.
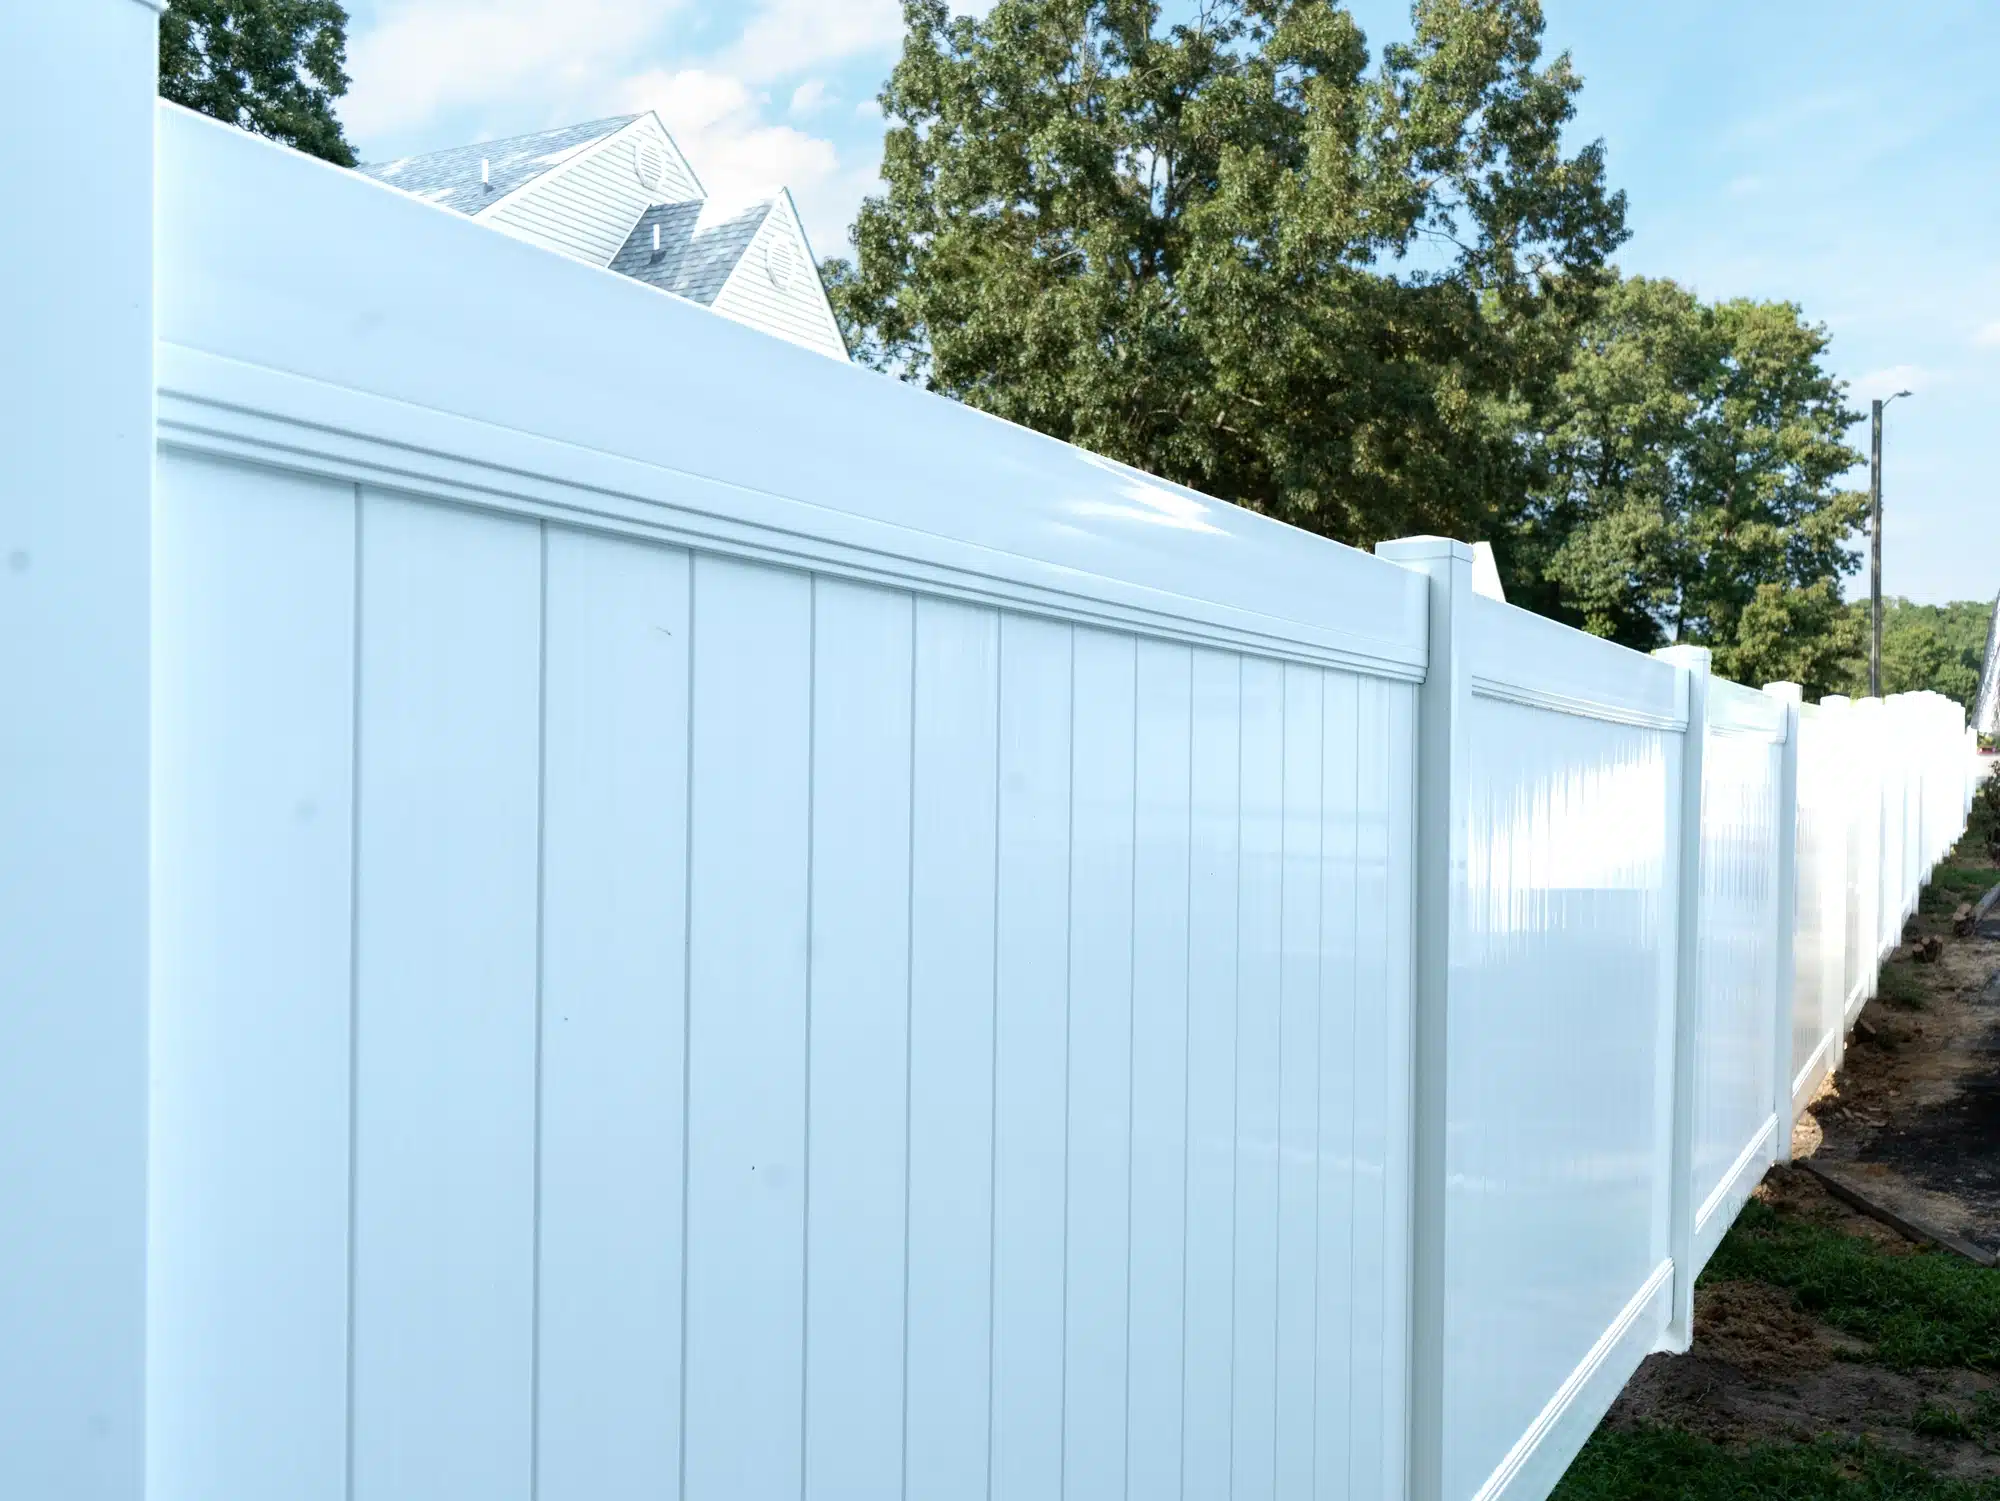
Other fences hang rails on brackets that screw to the face of each post. Bracket systems are easier to take apart, since you just back out the screws. Picket styles work much the same way, but the pickets pass through holes cut in the rails. If you still have your installer’s paperwork, the manufacturer’s installation guide is the best map for taking your fence apart.
Tools and Parts for Vinyl Panel Repair
Gather everything before you start, because a half-open fence line is a problem if you have a dog in the yard. Here’s what you’ll need:
- Matching boards or a full section: same manufacturer, style, height and color whenever possible.
- Drill or screwdriver: for bracket screws and any screws that pin the rails to the posts.
- Flat screwdriver or putty knife: to press in rail locking tabs.
- Rubber mallet: to seat boards and rails without cracking the vinyl. Never use a steel hammer.
- Level and tape measure: to check the new panel for plumb and confirm your measurements.
- Fine-tooth saw: only if you have to cut a rail that won’t release.
- Gloves and safety glasses: cracked vinyl has sharp edges.
Matching matters more than most people expect. Vinyl profiles, wall thickness and even the shade of white vary by manufacturer, so bring a photo and measurements (board width, rail size, section width and height) to your supplier. Also keep in mind that a new board may look a little brighter than a fence that has weathered for years.
How to Replace a Vinyl Fence Panel, Step by Step
Work on a dry, mild day if you can, since vinyl is more flexible when it’s warm. Then take it one section at a time.
How to Remove a Vinyl Fence Panel Without Damage
- Take off the post caps on both sides if you need to see how the rails are fastened.
- Back out any screws or bracket fasteners holding the top rail.
- Press in the locking tabs with a flat screwdriver while you pull the rail free. If the tabs won’t release, cut the rail near the post and plan to use brackets for the new one.
- With the top rail out of the way, slide the damaged boards up and out of the bottom rail.
- For a full section, remove the bottom rail the same way, then check the empty post holes for cracks.
To keep the posts and any good boards reusable, pull each rail straight out of its hole. Twisting it or prying against the post can crack the routed opening, and then that post needs replacing too. On a full section, have a helper hold the panel so its weight doesn’t hang on one rail end while you work. Also snap a photo before each step, so you know exactly how it goes back together.
Set the Replacement Vinyl Fence Panel
- If the old bottom rail had a metal stiffener inside, move it into the new rail before you install it.
- Seat the bottom rail in the post holes or brackets and check it with your level.
- Slide the boards into the bottom rail one at a time, locking each tongue into the groove of the board beside it.
- Set the top rail over the boards and tap it down with the rubber mallet until it’s fully seated.
- Drive screws snug, not tight, because overtightening can crack vinyl. Then put the post caps back on.
After the panel is in, step back and sight down the fence line. The new section should line up with its neighbors at the top rail, and the boards should sit tight with no gaps. If something looks off, loosen it and adjust now instead of forcing it.
When Vinyl Panel Repair Needs a New Post
A cracked or loose post changes the job, because you’ll have to dig out the old footing and set a new post in concrete. Before any shovel goes in the ground, contact Virginia 811 at least 3 working days ahead so the utility companies can mark their buried lines. The service is free, and it covers fence projects.
Match the new post’s depth and spacing to the old one, or the rails won’t reach their holes. Post work is harder than panel work, though. If more than one post is loose, the fence may be nearing the end of its life, so it’s worth pricing a replacement before you start digging.
Should You Repair or Replace the Whole Fence?
Vinyl fence panel replacement makes sense when the rest of the fence is straight, the posts are firm and you can find matching parts. A repair like that costs much less than a new fence. It also keeps the look you already have.
A new fence is the better call when several posts lean, rails sag across multiple sections, the manufacturer no longer makes your style, or you find yourself fixing something after every storm. If you’re weighing a new fence, our fence installation cost guide explains what drives the price, and our vinyl fence installation page shows the styles we build.
How to Keep Your New Panel Looking Like the Rest
Clean vinyl with mild soap, water and a soft brush or cloth. Skip abrasive pads and harsh solvents, since they can scratch or dull the surface. Also keep the mower and string trimmer a few inches off the bottom rail, and trim back limbs that hang over the fence.
After a big storm, walk the line and push on the posts again. Catching a loose post early is much cheaper than replacing three sections later. Our fence maintenance guide covers a simple seasonal routine.
Get a Quote for a New Vinyl Fence in Central Virginia
Good Neighbor Fence doesn’t do repairs, but if your fence is past saving, we’ll walk the line and quote a replacement. We’ve been family owned since 2006 and have earned 400+ five-star Google reviews building fences across Richmond, Chesterfield, Henrico, Hanover and the rest of Central Virginia. See this vinyl privacy fence for a Chesterfield family, and ask about our 0% APR financing promotions.
Call (804) 737-4664 or request a fast, free quote online for your new vinyl fence.