



Most vinyl fence screws go in just a few places: rail ends inside the posts, pickets at mid-span, U-channels and gate hardware. The rails mostly slide into routed posts, so the screws lock parts in place instead of carrying the whole fence.
Use the wrong screw, or drive it too tight, and you can crack the vinyl, block its seasonal movement or leave rust streaks down a white post. Here is where screws belong, which type to use and the mistakes to skip.

Where Do Vinyl Fence Screws Go?
Every brand differs, so the manufacturer’s instructions always come first. Still, the same few spots show up in most installation guides:
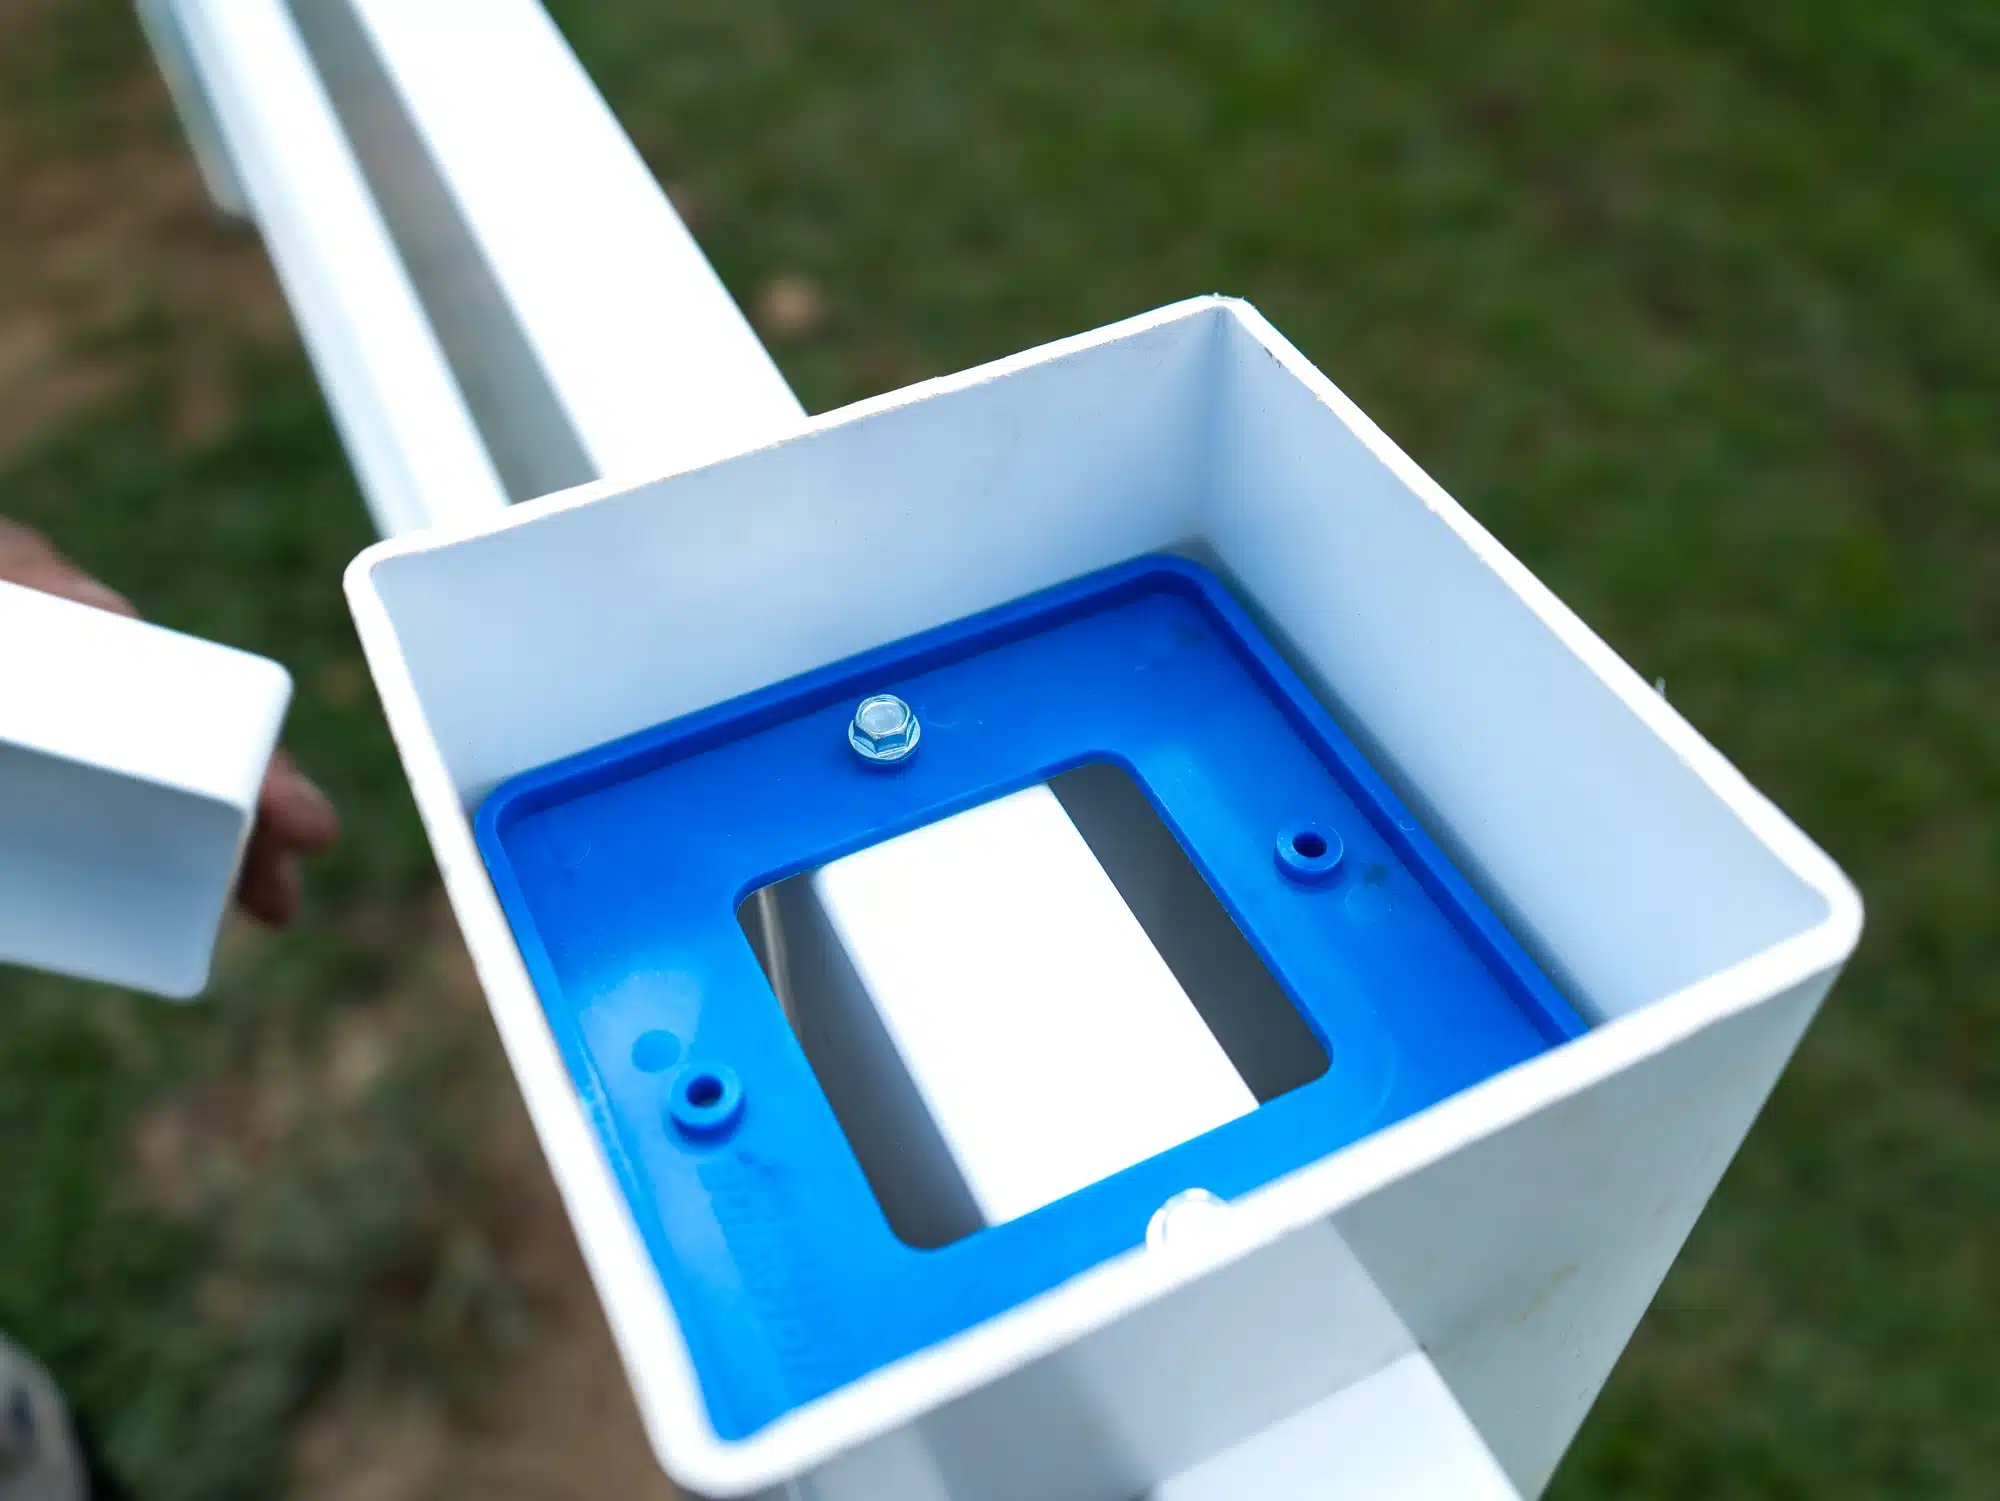
- Top rail ends: Bufftech’s installation instructions allow one #8 by 3/4 inch screw at each end of the top rail, inside the post, on its Brookline and Chesterfield privacy styles.
- Pickets at mid-span: VEKA’s installation guidelines call for a screw through the top, middle and bottom rails where they meet the tongue and groove pickets at mid-span.
- U-channels: VEKA says to fix the U-channel to the posts with PVC glue or at least three evenly spaced screws.
- Gate hardware: hinges and latches screw into the gate frame and gate posts, and the hardware’s own instructions set the screw size.
Notice what is missing from that list. Most panels do not get a screw at every joint, and that is on purpose.
Why Vinyl Needs Room to Move
Vinyl grows and shrinks with the temperature. VEKA notes that clearance at the rail ends inside the posts allows for that expansion and contraction. Bufftech, for its post and rail fence, tells installers to leave a 1 inch gap between rail ends inside the post.
That movement is why the screw count stays low. If you pin a rail tight at both ends and in the middle, it has nowhere to go on a hot Richmond afternoon. Then it can bow, or the vinyl can split around the screw. Bufftech’s instructions also say to avoid overtightening fasteners, so snug is enough.
Which Screws Work Best for a Vinyl Fence?
Start with the screws that come with your panels or hardware, because manufacturers size them for their own profiles. Bufftech’s instructions, for example, specify #8 screws in 3/4 inch and 1 1/2 inch lengths for different joints, often with washers and snap caps. If you need extras, match these features:
- Corrosion resistance: stainless steel or a coated exterior screw, so rust never streaks white vinyl.
- A wide head or washer: it spreads the pressure instead of cutting into the vinyl wall.
- A self-tapping point: it cuts its own threads, which helps when a screw passes through vinyl into an aluminum insert.
- Snap caps: these cover the heads for a cleaner look on the finished side.
Skip drywall screws and uncoated steel. They rust fast outdoors, and the stain runs down the fence. The same logic applies to any vinyl fence fasteners you add later, such as a mailbox bracket or a house number plate.
Vinyl Fence Screws and Gate Hardware
Gates put the most strain on any fastener, because every swing pulls on the hinge screws. Bufftech tells installers to slide an aluminum gate stiffener inside the hinge, latch and end posts. As another option, you can fill those posts with concrete and two pieces of 1/2 inch rebar. Either way, the hinge and latch screws get solid material to grip instead of a hollow vinyl wall.
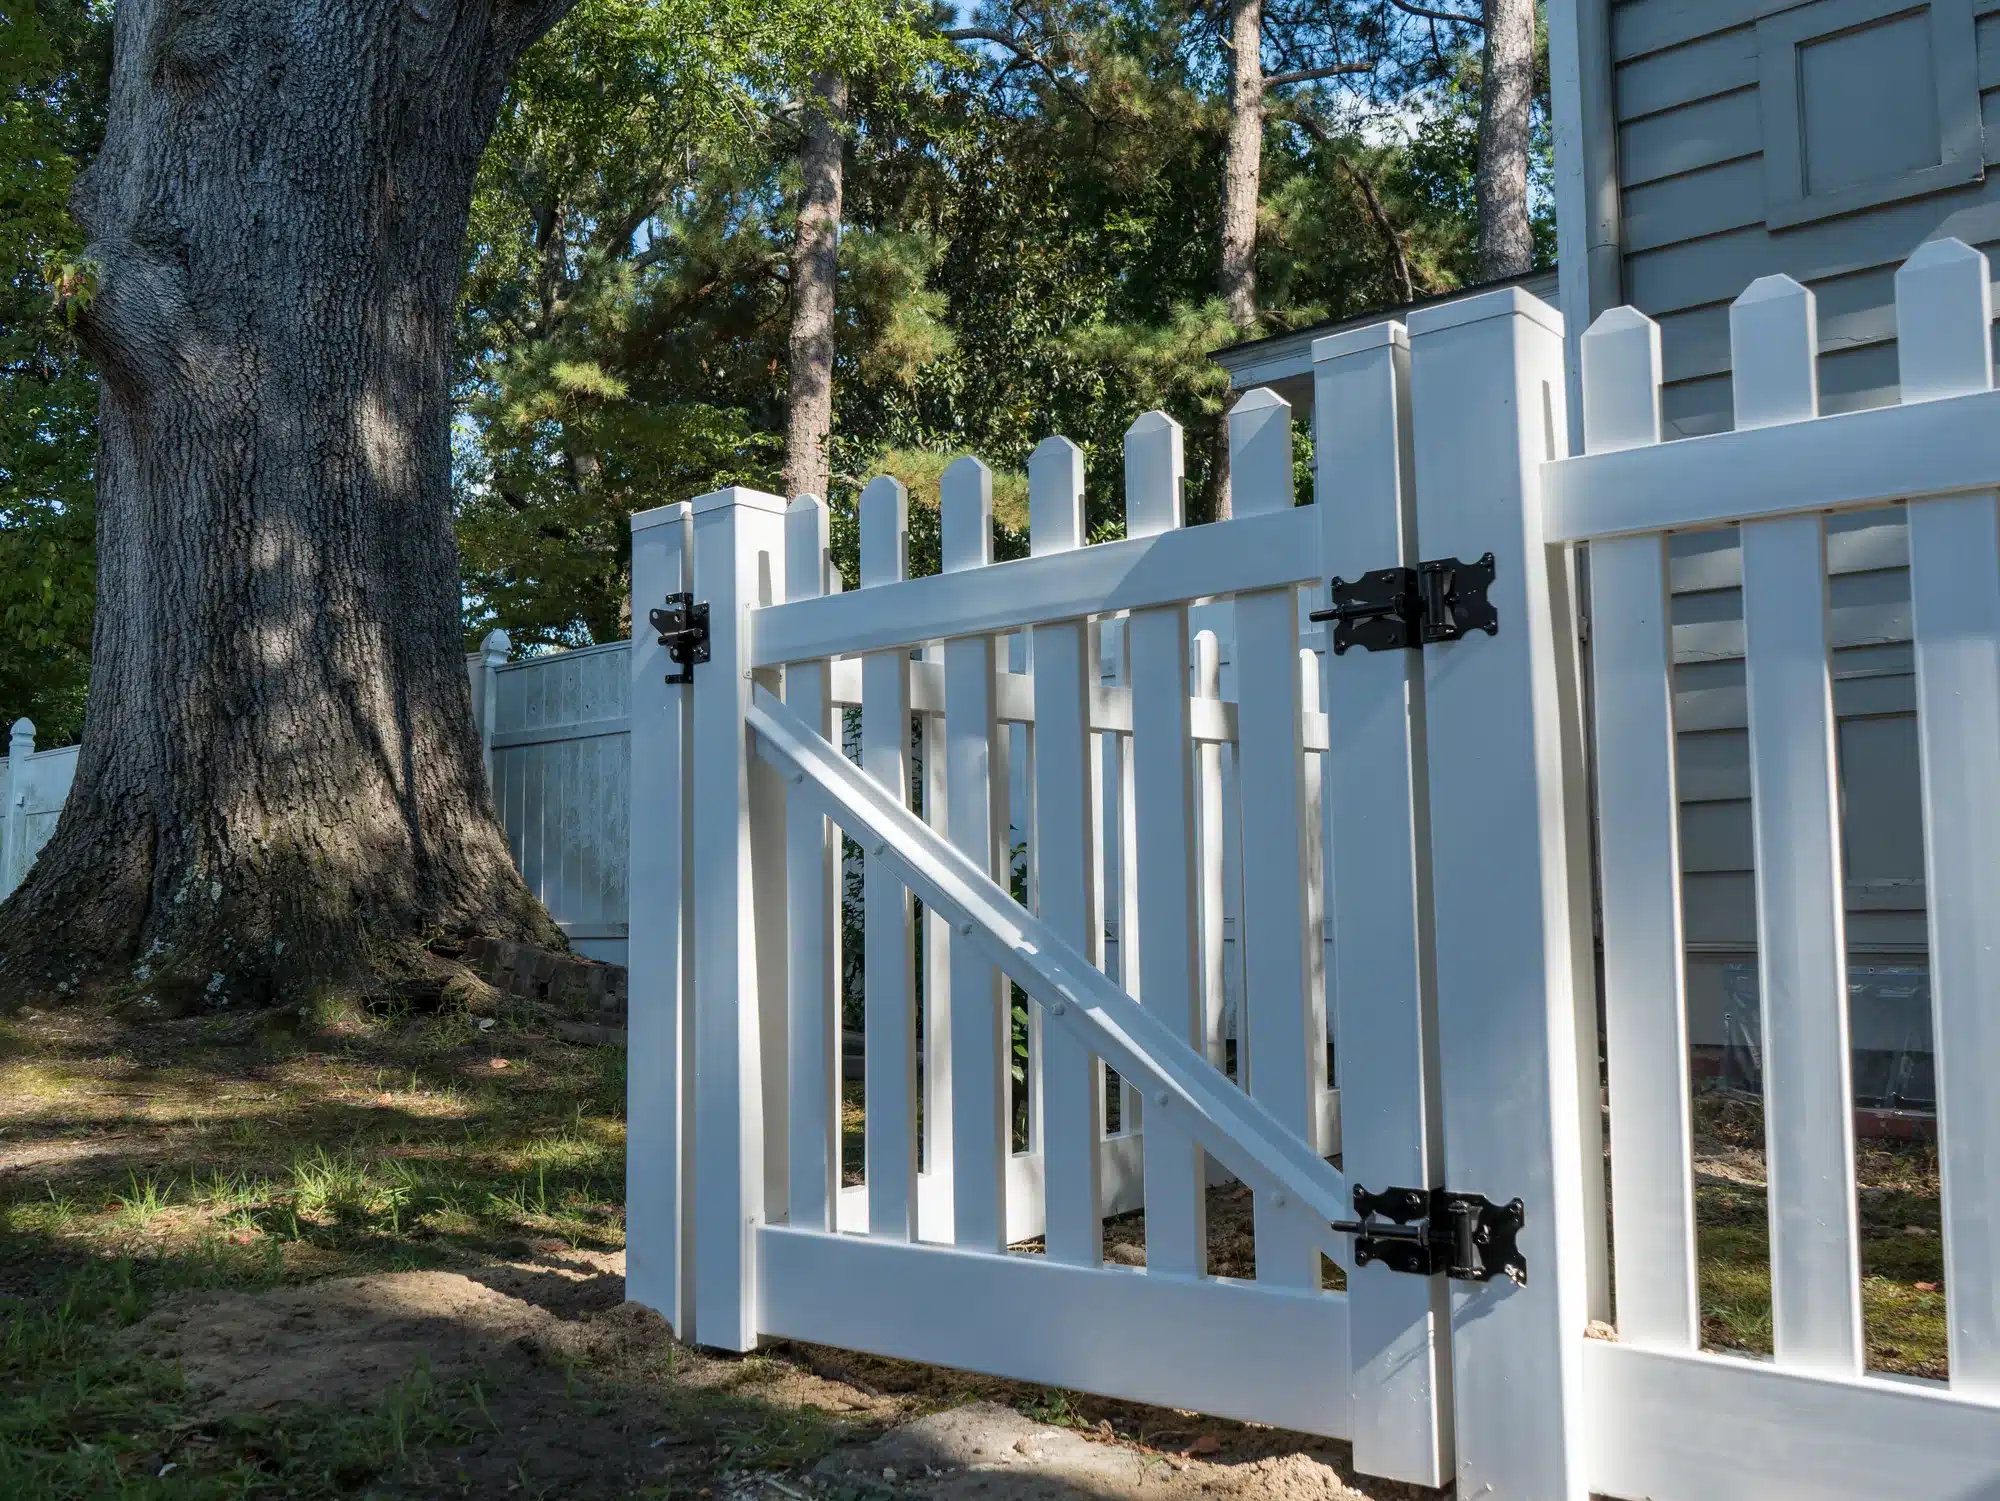
Gate hardware usually comes with its own screws and instructions, so follow those for size and spacing. After the first few weeks, check the hinges and snug any screw that has worked loose, without cranking it down. If your project includes a gate, plan the post reinforcement with the rest of the fence. Our post on gates and fence security covers more of that planning.
Can You Screw or Drill Into a Vinyl Fence?
Yes, you can screw or drill into a vinyl fence, as long as you respect how it’s built. Vinyl posts and rails are hollow, so a screw only grips a thin wall unless there’s an aluminum insert, a wood post or concrete behind it. That’s fine for a house number or a small sign, but not for anything that pulls or swings.
A few habits keep the vinyl from cracking when you drill:
- Use a sharp drill bit at a moderate speed, and let the bit do the work.
- Drill a pilot hole a little smaller than the screw, so the threads bite without stressing the wall.
- Wait for a mild day if you can, since cold vinyl is stiffer and cracks more easily.
- Fasten heavier items, like a mailbox bracket, into a post with an aluminum insert or other reinforcement, not a hollow section.
Also check your fence’s warranty terms before you add attachments, since each maker sets its own rules.
How to Drive Vinyl Fence Screws Without Cracking the Vinyl
- Read the manufacturer’s guide and use only the screw locations it shows.
- Check that the rail sits centered in the post with the specified end gap.
- Drill a pilot hole if the guide calls for one, especially through thick vinyl into an insert.
- Set your drill to a low clutch setting and stop when the head is snug against the vinyl.
- Add the washer or snap cap if your system uses them.
- Recheck the fence after the first big swing from cold to hot weather.
Screw Mistakes That Damage Vinyl
Most problems come from one of these habits:
- Too many screws: pinning every rail and picket blocks the expansion that vinyl needs.
- Overtightening: a screw driven too deep can crack the vinyl or dent the post.
- The wrong metal: plain steel rusts and leaves orange streaks on white panels.
- Hollow gate posts: hinge screws in an unreinforced post loosen as the gate swings.
- Screws as a patch: if rails keep pulling out of the posts, a leaning post is often the real cause.
Loose rails after a storm are worth a closer look, too. Our guide to how much wind a vinyl fence can handle explains what to check, and these fence installation mistakes cover the problems that start in the ground. For routine care, see our tips on fence maintenance.
Talk to a Richmond Vinyl Fence Installer
Good Neighbor Fence has been family owned since 2006, with 400+ five-star Google reviews. We handle vinyl fence installation from setting the posts to adjusting the last gate latch, so you never have to guess about screws.
Request your free quote or call (804) 737-4664 to talk through your project.