


Here’s how to install aluminum fence in short. Lay out the line, set the gate posts first, then work post by post down the run. Each panel slides into the next post before its concrete sets. That way you can keep every post plumb and level as you go.
Below, we walk through the aluminum fence installation process step by step, using one manufacturer’s published instructions as a guide. We also cover slopes, gates and the mistakes that make a new fence look crooked.
Before You Start: Plan the Fence Line
Good planning prevents most problems when you install an aluminum fence. First, confirm your property line from your plat or survey, then check setbacks, HOA rules and county height limits. Our guide to Virginia fence rules on property lines covers what to look for.
Next, contact Virginia 811 at least 3 working days before you dig. The service is free, and it marks the approximate location of buried utility lines before you start on post holes.
Finally, measure each run and order materials. Aluminum comes in set section widths, so the manufacturer’s spacing chart tells you how far apart the posts go. If you need help with the math, see our guide to how much fencing you need.
Tools and Materials for Installing an Aluminum Fence
Gather everything before you dig, because the post by post method moves quickly once concrete is mixed:
- Fence sections, line posts, end and corner posts, gate posts and gates
- Post caps, self-drilling screws and gate hardware
- Stakes, mason’s string and a long tape measure
- A post hole digger or auger
- Concrete mix, a wheelbarrow and water
- A post level or 4 foot level, plus a drill with a driver bit
- A saw with a metal cutting blade for short end sections
Our guides to aluminum fence parts and cutting aluminum fence explain these pieces in more detail.
How to Install Aluminum Fence Step by Step
These steps show how to install aluminum fence using Jerith’s aluminum fence installation instructions. Always check the instructions for your own product, since post depth, spacing and hardware vary by brand and style.
1. Stake Out the Line
Drive a stake at each end and corner, then stretch a guide string between them. You will use this string to line up every post, so pull it tight.
2. Set the Gate Posts First
Start with a pair of gate posts. If you have no gates, start at an end or corner post instead. Gate posts carry the most load and the opening has to be exact, so get them plumb and spaced right before you move on.
Check your gate’s instructions for the opening width. Jerith, for example, calls for about 3/4 inch of space between the gate and each gate post.
3. Dig the Post Holes
Jerith’s instructions have you dig up to 8 line post holes at a time. Since each panel sets the spot for the next post, working in small batches keeps the spacing true.
Depth depends on fence height and soil, so follow the manufacturer’s post depth chart. Where the ground freezes, the concrete footing must also reach below the frost line. For reference, Henrico County uses 18 inches as the minimum footing depth for frost protection on decks.
4. Slide In a Section and Set the Next Post
This step is the heart of how to install aluminum fence, and it is where aluminum differs from wood. Slide the horizontal rails of a section into the punched holes of the first post. Then place the next line post in its hole and slide it onto the other end of the rails.
Check that the new post is plumb and lined up with the string. Keep the bottom of the fence about 2 to 3 inches above the ground, then pour concrete. Leave the concrete about 2 inches below ground level.
Repeat down the line, one section and one post at a time.
5. Fasten the Rails and Add Caps
Once the posts are set and aligned, fasten each rail to its post with the self-drilling screws. Don’t overtighten them, because Jerith warns the screws can break. Then add the post caps.
6. Hang the Gate
Mount the hinges and latch following the gate maker’s directions. Then swing the gate several times. It should clear the ground, keep an even gap at both posts and latch without a push.
Pool gates have extra rules, such as self-closing and self-latching hardware. So read our guide to Virginia pool fence regulations before you build around a pool.
How Do You Install Aluminum Fence on a Slope?
On gentle slopes, many aluminum styles can rack. That means the panel shifts so the pickets stay vertical while the rails follow the grade. On steeper ground, you step the sections like stairs instead, which leaves a triangle-shaped gap under the low side of each panel.
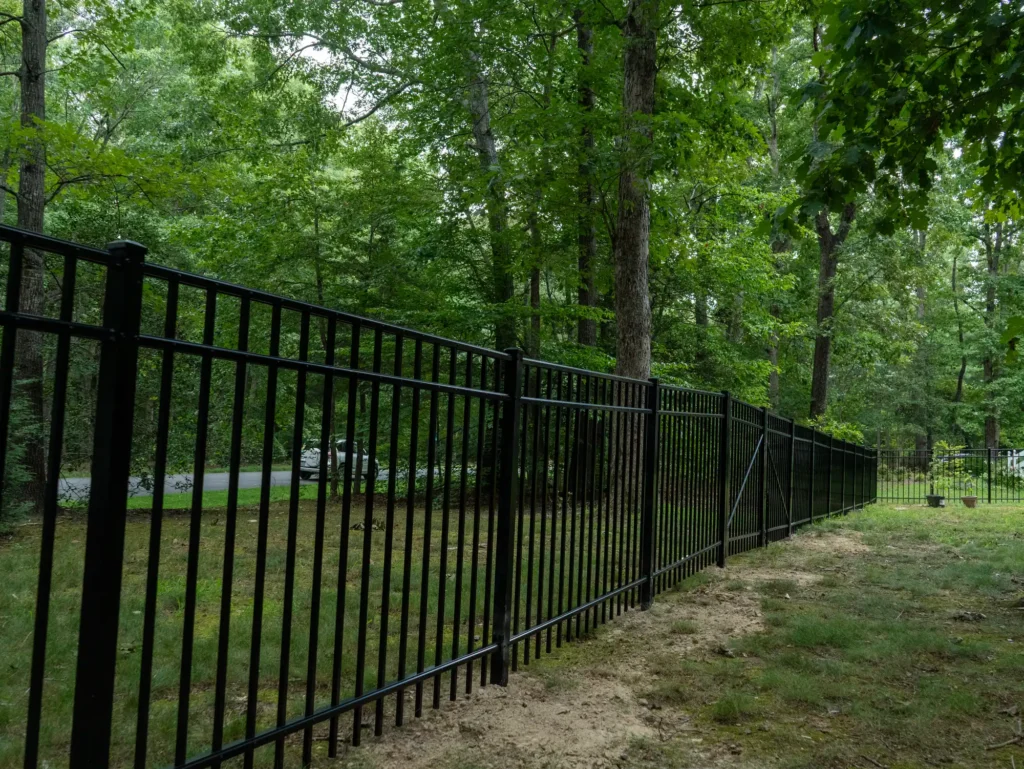
Check the rack limit for your product before you order. Our tips for aluminum fence on a slope go deeper on both methods.
Common Mistakes to Avoid
Most problems with a new aluminum fence trace back to a few common slips:
- Skipping the call to Virginia 811 before digging.
- Setting line posts first, then forcing the gate to fit the leftover gap.
- Letting posts drift off the string, which shows up as a wavy top rail.
- Pouring concrete all the way to the surface instead of leaving it about 2 inches below ground.
- Overtightening the self-drilling screws.
- Ignoring the frost line when you set post depth.
For more pitfalls that apply to any material, see these fence installation mistakes.
Should You Install It Yourself or Hire a Pro?
Installing an aluminum fence is a doable project if you are handy, have a helper and have a mostly flat yard. But slopes, rocky soil, long runs and pool codes add real difficulty. A small error at the first gate post can also carry down the whole line.
If you would rather hand it off, our aluminum fence design and build team handles the layout, digging and setting. We typically complete aluminum fence installations within 1 to 2 days, and our employees are background-checked.
See a finished example in this classic aluminum fence for a Richmond home, or read about aluminum fence costs before you decide.
Get a Quote for Your Aluminum Fence
Want a pro to handle the install? Request a fast, free quote and we will help you choose the right style, height and layout for your yard. Good Neighbor Fence has been family owned since 2006, with 400+ five-star Google reviews. We serve Richmond and the rest of Central Virginia, and you can also call us at (804) 737-4664.